I urge you to please notice when you are happy,
and exclaim or murmur or think at some point,
"If this isn't nice, I don't know what is."
—Kurt Vonnegut (2003) 'Knowing What's Nice', from In These Times
NWN:EE Custom Class Guide — Part 2: The Eos Toolset
One of the major, exciting new developments that got me excited to dive back into modding for NWN was coming across Cjreek's Eos Toolset. This is an absolute game-changer when it comes to making NWN custom content creation accessible. But let's roll back a second—before you can understand just how revolutionary this tool is, I should first explain what classes (and most any other form of custom content you might want to make) actually are within the NWN engine.
To grossly simplify things, classes (and most everything else) in NWN are represented through a number of interlinked tables.
These tables are saved as .2da files, standing for 'two-dimensional arrays'.
By adding rows to the appropriate tables and linking them appropriately, we can add new classes (and other content) to the game. Combine these table entries with some
appropriate icon images and scripts written in the Aurora Toolset and bam! you've got yourself a functioning class, feat, spell, whatever.
Historically, the only way to do this was to (1) get access to the tables, either finding an extracted set hosted on the Vault or using the
NWN Explorer and then (2) edit the tables directly, meticulously
adding a row column-by-column, using the appropriate codes to elicit the desired behaviour. On top of this, if you wanted any custom text to appear in the game—such as
the name of your custom class displaying in menus, or the description of a custom feat—you would need to add these texts as entries in a separate .tlk database,
and then link the .2da table entries to the correct rows of the .tlk database. This is still a perfectly valid approach, if a little time-consuming,
and indeed I imagine in the long run it will still be beneficial to develop an understanding of the .2da structure of NWN.
That said, the Eos Toolset provides an excellent accessible alternative to directly editing the .2da files. This tool massively streamlines the
whole process. Rather than just telling you about this in the absract, however, let's jump right in and get started. Just remember while you're doing this that you
could've been spending this time staring at table after table and desparately hoping you copy-pasted a bunch of random numbers correctly, and thank Cjreek for their
massive contribution to the world of NWN modding! So, without further ado, let's get set up.
To start with, you're going to want to download the latest release of the Eos Toolset (this guide will be working with v.0.73c) and extract the .zip file. I put my extracted files into my usual working folder for when I do NWN modding work—assuming you're working with a clean copy of NWN:EE without any prior mods or such, any folder should do, although you might want to consider putting it in your NWN game directory. I'll get to why shortly.
Once you've got the files extracted somewhere sensible, open it up and you should get an interface somewhat like figure 1 below.
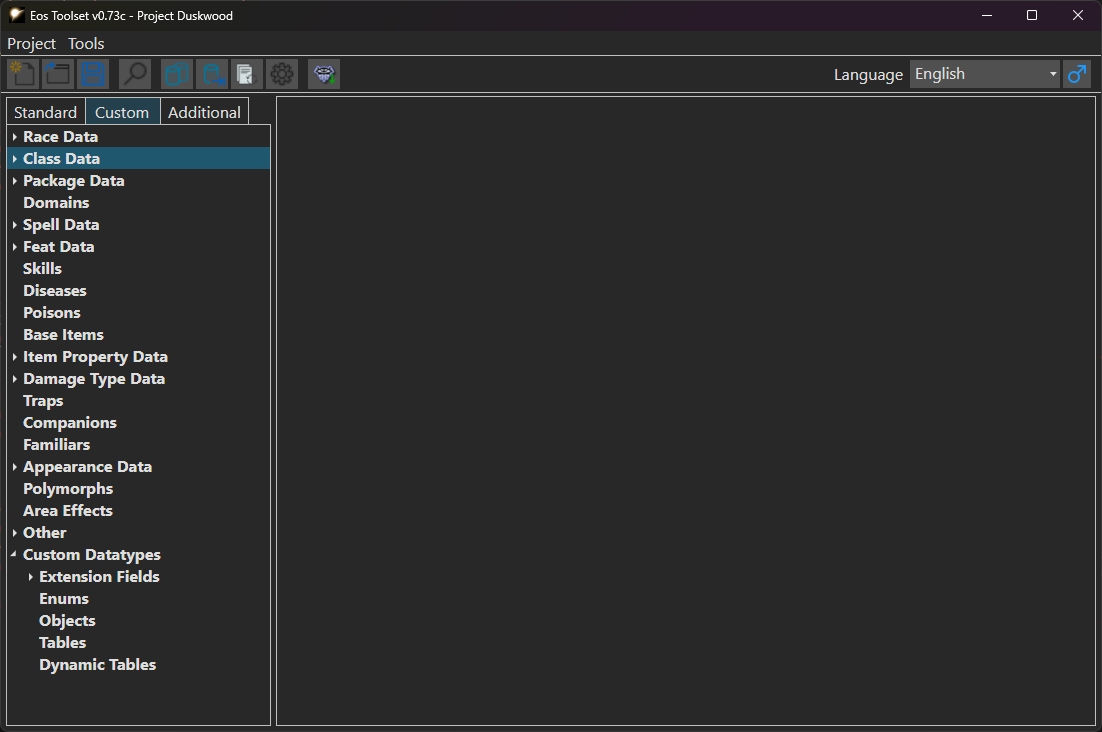
The first thing you're going to want to do is create a new project. Click the New Project button (or hit ctrl+n on Windows). Input a name for your project, as well as a save location. I'm going for 'Project Duskwood' as a working title.
Once you've created your new project, you're going to want to hit the Import Game Files button (that's the one with the NWN logo and a green down arrow, one the right of the operations toolbar). This will load in all of the base game files for you.
Note: At time of writing (20.04.2024), there is no documentation for the Eos Toolset, and I'm not confident enough as a coder to trawl the source code to work out exactly how this import operation works. When I ran the Import Game Files operation with the program in my downloads folder, I got a message 'no game files found, standard data loaded' or words to that effect, suggesting the program is able to load an unaltered set of the core NWN data files inherently. When I moved the program to my usual modding working folder, I instead got a message saying 'game files have imported successfully'—I imagine this may be because I have an extracted copy of the core game files in my modding folder from the days when you needed to edit the files directly. In either case, you are never given the option of directing the import function to your NWN directory, so either it checks the local directory, or it uses standard file paths, or both. For now, I am happy that it works and that's enough, but your mileage may vary.
Once the game files are loaded in, click over onto the Standard tab and take some time to navigate around the interface and see how the information is stored and presented. I recommend going to Class Data > Classes and then double-clicking on a class of your choice. Click through the three pages of data for that class (labelled Info, Properties and Spellcasting) and have a look at what's in them.
Once you're happy with how the class information is laid out, go on to the next part of this guide, where we'll create an entry for our new class and start filling in the details.
| ← Back (Part 1: Concept and Outline) | Top | → Next (Part 3: Class Info and Icons) |